F-Zero 99 Queen League Update
by William Hernandez
Huh, well I certainly wasn't expecting to see this game get support so quickly. Totally makes sense, though; F-Zero 99 has captured the intrigue of quite the number of people to start. Although I'm not sure if we'll get anything new past the King League, it is good to see that Nintendo recognizes how invested people are in this game. The Queen League update introduced 5 new tracks to the game of varying difficulty levels. Instead of just listing them off and calling it a day, giving a bit of advice seems like it would be more useful. And so, here's a couple of tips and strategies for each course to help you in your races.
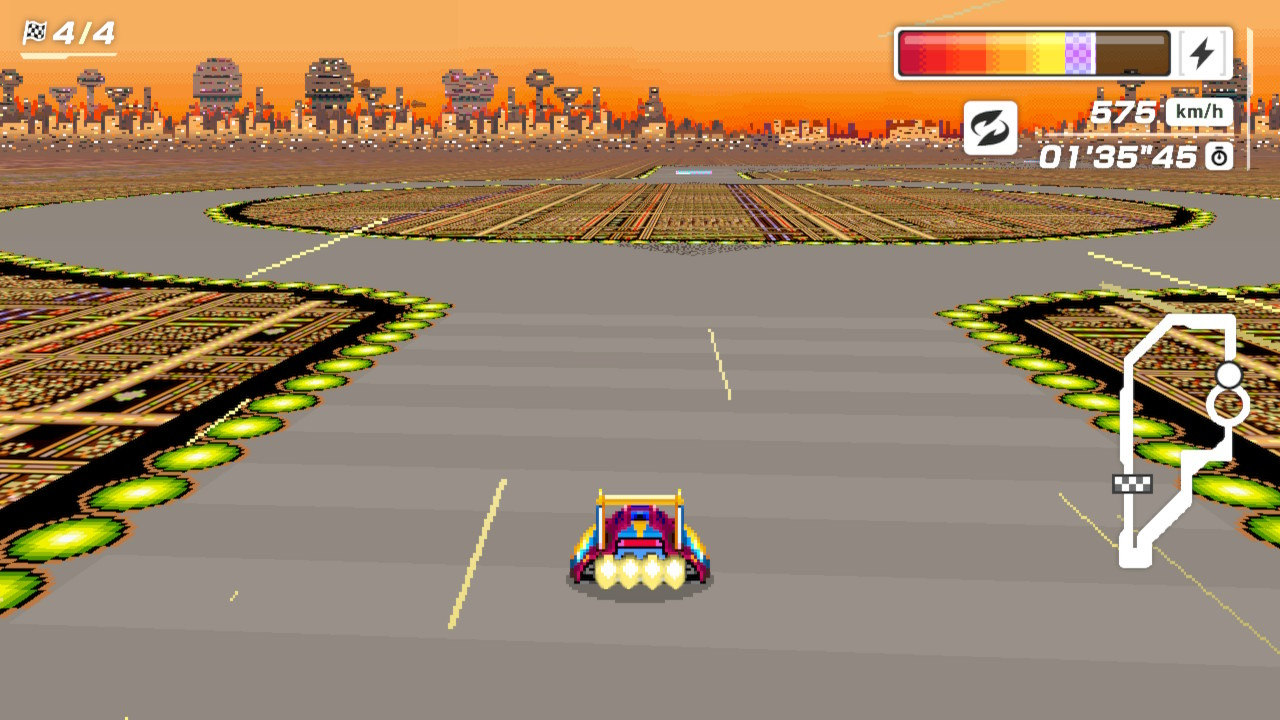
Mute City II
Thankfully, there's not a whole lot to ruin this sunset drive as the only major difference between this track and Mute City I is the circle split as shown in the image below. Although there isn't a huge difficulty spike, this circle actually changes the typical strategy of Mute City I quite a bit. The most obvious thing that you'll quickly realize is that the Skyway has a lot more value going through this split as you'll save a good amount of time by just going over the middle of the circle instead of having to make those turns. If you do need to make those turns, though, then I would recommend taking the left path. If you take the left path, you are in a much better position to hit the jump plate that comes immediately after without needing to slow down much at all. There is a right turn directly after the jump plate so it would simply be a more awkward manuever if you take the right path instead. You can also boost while making these turns to cut through more cautious drivers. It may take some practice, but these turns are totally doable even at your top speed. Other than that, there's not a whole lot more to the track. Drift cleanly and you'll have a competitive race. Just don't ever get left too far behind as it'll be really hard to make a comeback over the final 2 laps on this track.
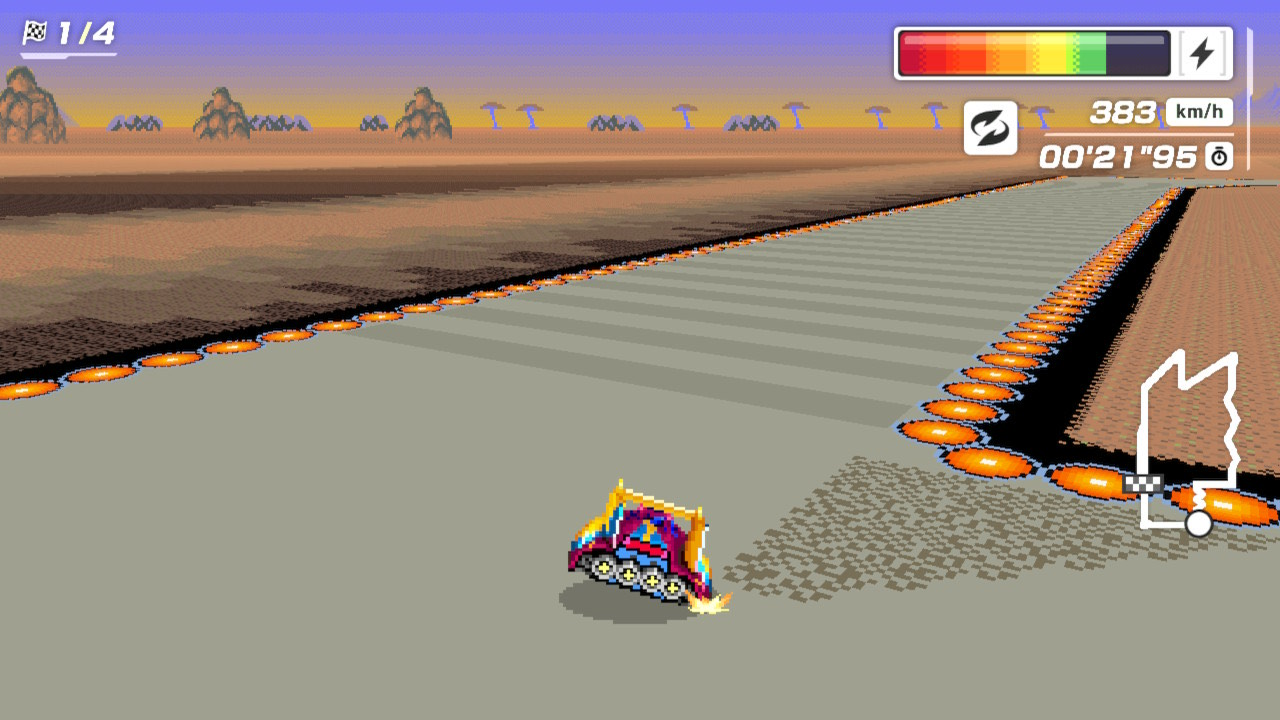
Port Town I
Because this is strictly a simpler track compared to Port Town II, there isn't too much to say. Directly after the left-pull and right-pull magnets, there's a long straightaway before the turn that takes you to the finish line. Compared to Port Town II, this means that you have more room to abuse your boosts without needing to be concerned about lacking health late into a lap or crashing into a chicane. The best place to use the Skyway as a result is undoubtedly right before the magnets when you're behind. If you're close to the front of the pack, then you might actually gain more by skipping the annoying turns near the beginning of the race. As long as you can manage your boosts well, you should be able to regularly finish at the top of the list. If you have the sufficient confidence, nothing about this track should scare you.
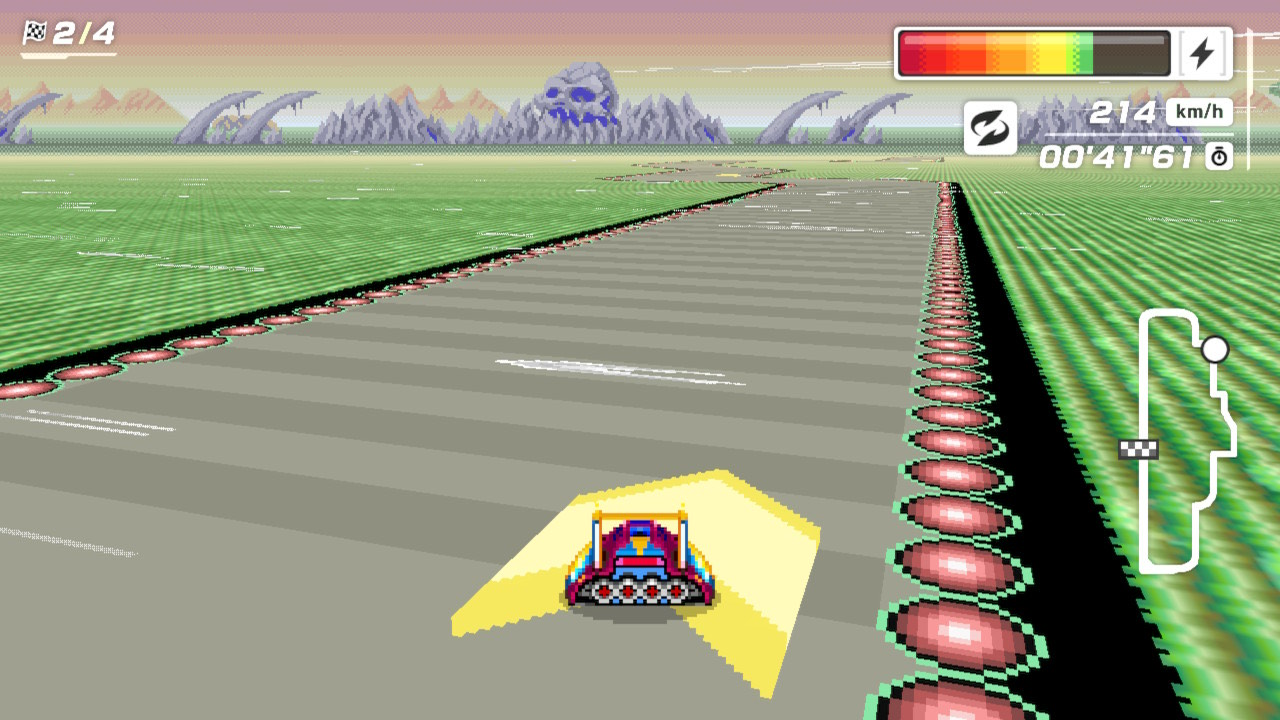
Red Canyon I
If you're not that great at drifting, then Red Canyon I is going to force you to learn. There are some very sharp turns that require you to slow down in order to drift through them properly. In one section, there's even a turn directly after another turn. Boosting is ill-advised for most sections of this track as you'll end up colliding into a lot of walls if you just do it all willy-nilly. The start and the end of the track are the only realistic places to boost without endangering yourself. You can't stress yourself out too much on this track or you're going to make poor decisions. Concern yourself primarily with executing every turn properly. There's a lot of room to make up lost ground. If you're comfortable with the track, you can shave off a lot of seconds on the average lap compared to other racers. The Skyway has utility just about anywhere here. My general advice is to save it for your weakest section when possible, but it is a good time save just about anywhere on Red Canyon I.
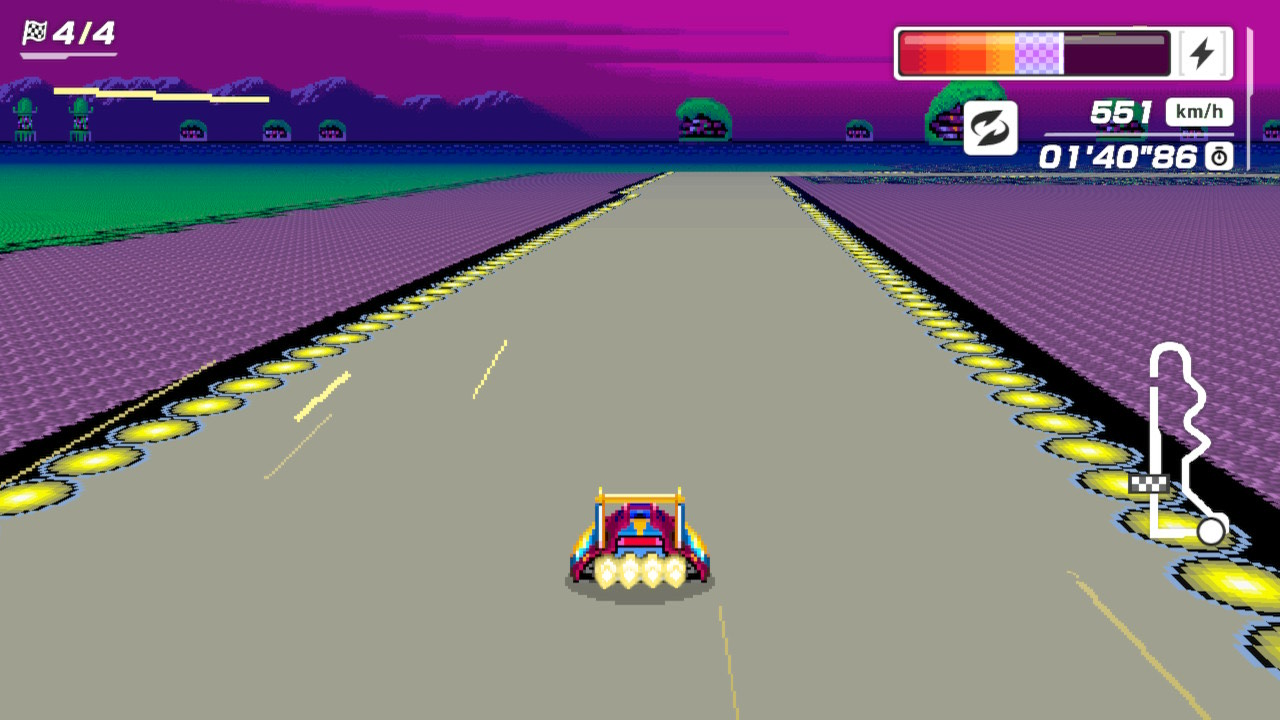
White Land II
The final race of the Queen League Grand Prix will see you race on this track. Compared to Silence, I actually think this track will generally be easier for most racers. There are a couple of hairpins back-to-back, but everything else is fairly manageable. For those unfamiliar with the course, the hairpins can be quite the time waster as the natural instinct is to avoid any collisions and slowly make the turn. As you can see in the image below, though, you can actually drive through the barriers in between. The fastest way to get through this section is to slow down right before the first hairpin and then cutting right through the middle barrier. You should be at a good speed to do the exact same thing with the next hairpin but even more smoothly. You can also boost right after this section fairly comfortably, leaving other struggling racers in the dust. Bumper cars are going to be your worst nightmare on this track so just be vigilant that you're not putting yourself in a position to have your entire race ruined by one of them even if it means playing more safely in the more dangerous sections of the course.
Death Wind II
The new Pro Tracks addition, Death Wind II, is the least forgiving track of this bunch. The first time you race on it, you're probably going to suck real bad. While Death Wind I is just a longer version of Baby Park from the Mario Kart series, Death Wind II is more reminiscent of something from the deepest pits of hell. Okay, that's definitely an exaggeration, but it'll feel that way when one bad turn leaves you pinballing off the guardrails several times. Getting every dash zone is necessary for a good finish and the best way to hit them is by slowing down a little and strafing towards them as you approach one. You have to account for the wind so strafing will have you hit them more frequently even if it's not an action you're used to doing. Slowing down a little will mainly just stop you from careening off the walls if you don't hit the right angle. This is a great place to use the Skyway as there's nothing more consistent than just skipping it altogether. Save the ordinary boosts for the straightaways as having 98 other racers trying to make the same turns as you in this section is more than enough chaos already. In summary, hit every dash zone possible and just hope your opponents mess up more than you. If you're keeping your machine healthy, then you're already doing a better job than most. That's all for now. See you when the King League comes out soon!